Brew Log - November 2021
Oli WattsNovember's brew was the first after all our renovations were complete.
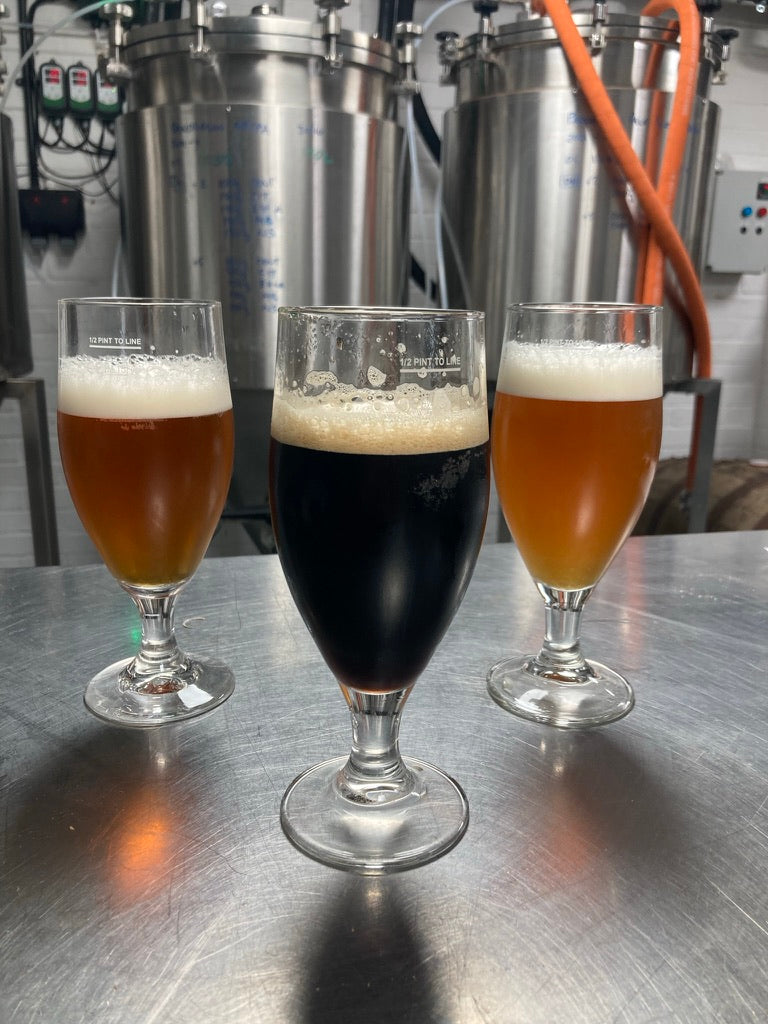
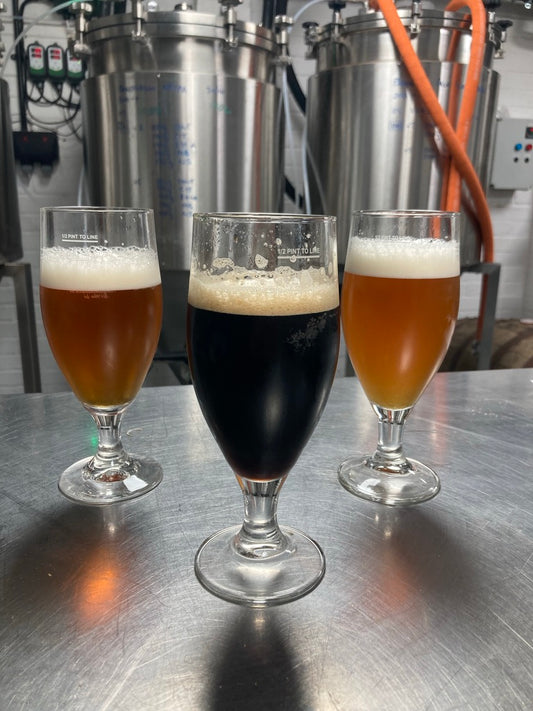
We brewed three favourite beers from our back catalogue, and 100% went into cans.
We learnt a huge amount from this brew, and to help keep track of everything I plan to do a little write up after each brew day.
You can't can alone
We use a Cannular Pro (can seamer) and a Duofiller (can filler) and fill directly from our Elite Stainless uni tanks. This setup worked really well, once we'd done a bit of fettling.
Several of the Duofiller's internal fittings needed tightening, and the power supply needed replacing. Customer service from Duo was 5* excellent, they sent a new power supply and since then its worked a charm. I also needed to get some extra John Guest fittings to match my beer line and CO2.
The Cannular Pro required a new chuck to fit the can lids we used. The chuck didn't fit as supplied and needed a bit of manual burnishing.
Big thanks to Delphic Brewery who offered some tips as they use a similar setup.
Most importantly, I learnt that my wife is genuinely an expert process optimiser, and I couldn't have done the canning run without her. She is a demon on the Duofiller and Cannular. It took me 10 hours to do one tank, and together we did two tanks in four hours.
Colder is not always better...
During our refurb, I spent several weeks installing a fully insulated 'first in, last out' glycol cooling system, which provides cooling to our 3 fermentation vessels and our plate heat exchanger (and eventually our chiller room)
This was a bloody helluva job, and involved fitting 20+ metres of copper pipe, soldering dozens of joints and getting everything correctly insulated.
Of course, once this was all completed, we ended up with a cold snap which meant our fermenters struggled to stay warm enough.
To combat this happening again, I've fitted these Reptile Heating Mats to the bottom of each FV. This part of the FV is only single skin stainless steel, and these mats seem to be powerful enough to raise the temperature several degrees above ambient.
This needs a bit of tweaking, as they seem to perform better with a bit of an air gap between the mat and the tank.
...but hotter isn't always the best
My dear chum Mike noted 'Oli’s signature thing seems to be making beers that little bit more bitter than most people would - and i love that.'
I've been suspicious that our brews have been coming out more bitter than expected, and fortunately another dear chum Fergus backed this up with some extremely helpful lab analysis.
| Beer | Calculated IBU | Actual IBU | |
| Paddington | 22 | 32 | +10 |
| Blackbird | 31 | 33 | +2 |
| Bandwagon | 33 | 68 | +35 |
Both Paddington and Bandwagon have most of their hop additions added 'at flameout' - meaning a large number of hops are added when the beer is just off the boil.
Turns out I've been significantly underestimating how much these very late addition hops have been contributing to overall bitterness.
For future brews, we're making some further changes to the brewhouse so we can cool the wort in the kettle before we do our late additions which will minimise any additional bitterness.
When is a NEIPA not an NEIPA?
When its completely clear and much too bitter. This batch of Bandwagon didn't turn out as we'd planned. It's far too bitter, and as a result of wanting to remove the 'yeast bite' that plague so many NEIPAs, it's a clear as a bell.
Its still a really good beer - and one that will get repurposed into a classic West Coast IPA at some point.
We're planning a series of NEIPAs later in the year which will build on what we've learnt.


